Project Setup
React has become very popular, as has TypeScript. But it can be difficult to keep your tools and build configurations up-to-date. Many frameworks have recently built CLI (command-line interpreter) tools that make those decisions for you, using best practices. They’ll generate a project with the right choices then update those choices as things evolve.
React’s create-react-app takes care of this. And it’s extensible with scripts such as react-scripts-ts which provides a TypeScript version of the generated project.
In this tutorial step, we use create-react-app to generate a sample project with supported dependency versions, configuration, and a minimal starter application.
Project Creation
Start by running in create-react-app command, passing the argument to
use react-scripts-ts:
$ create-react-app my-app --scripts-version=react-scripts-ts
$ cd my-app/
$ npm start
The react-scripts-ts project has
good documentation
about this process. As a note, the first command will take a while.
You now have a working React+TypeScript project, toolchain, and hello-world
style app. It’s actually quite an achievement. Assembling all of this, and
keeping it assembled, is an incredible effort. The create-react-app
and react-scripts-ts have shifted that off your shoulders, onto theirs.
Trust me, it’s a big deal.
Show Me a Page
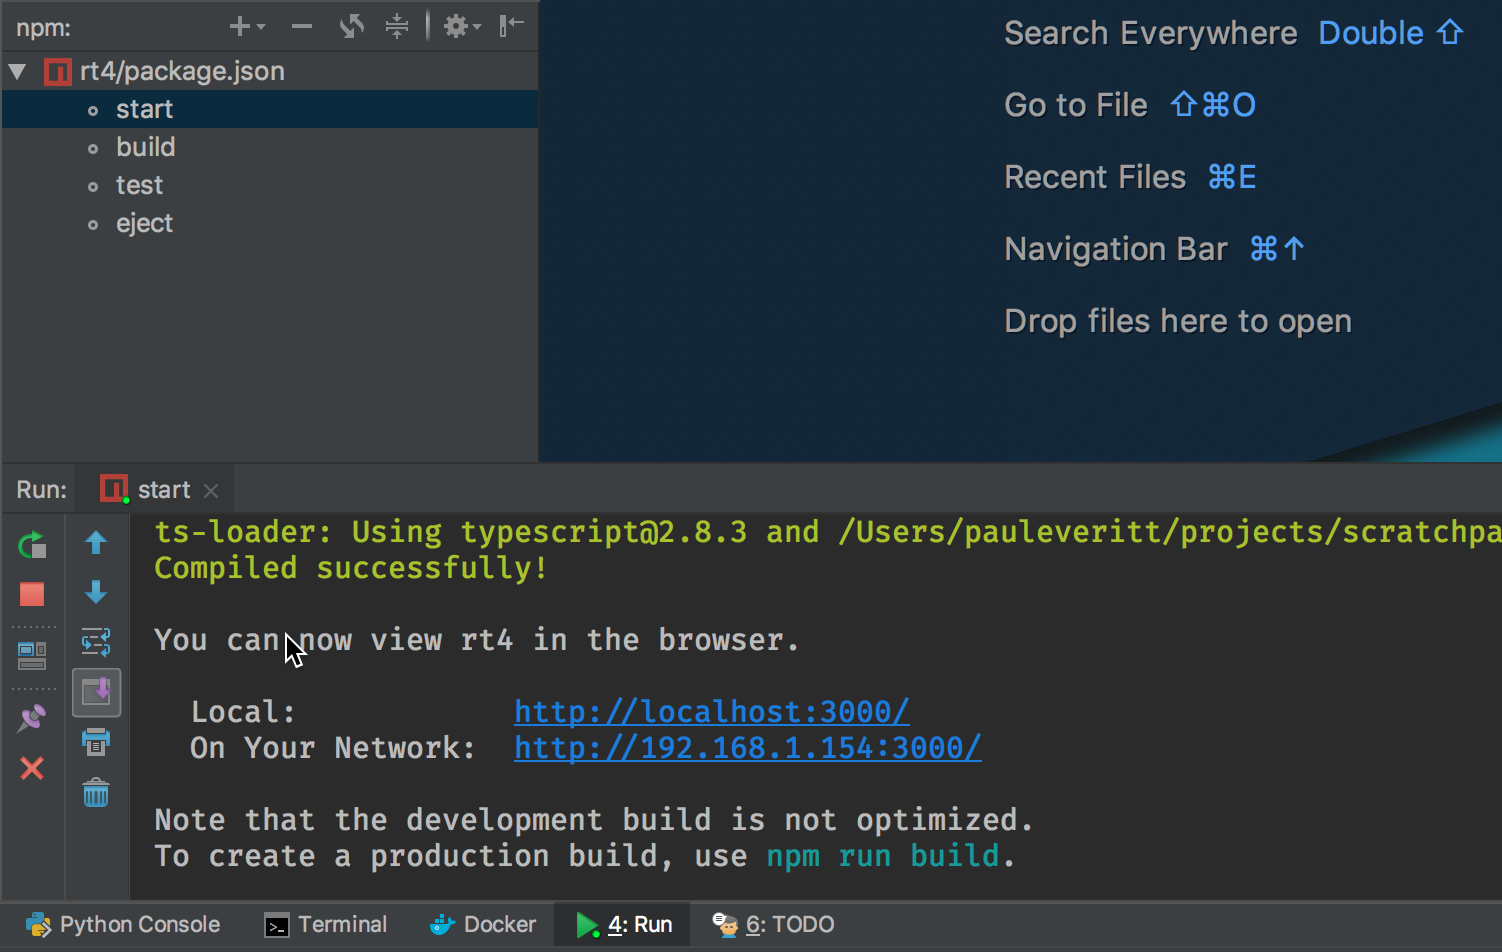
Let’s see this React+TypeScript page in our browser. npm scripts make it easy to discover commands that are common to a project. The most common? Starting the dev server, which compiles the universe, serves a page over HTTP, and helpfully opens your browser:
$ npm run-script start
This dev server is watching for changes. If you edit a file, it will
regenerate the universe and tell the page to reload. Open src/App.tsx
and change Welcome to React to Welcome to React TypeScript, then
save. Your terminal shows a recompile and your browser updates.
JetBrains IDEs put a nice UI on this. Click on the npm tool icon
(usually on the left) and double click start in the listing of run
scripts. You’ll get a run window at the bottom with a nice UI for showing
output and restarting. Alternatively, open package.json and click the
green play icon in the gutter by the run scripts:
Production Build
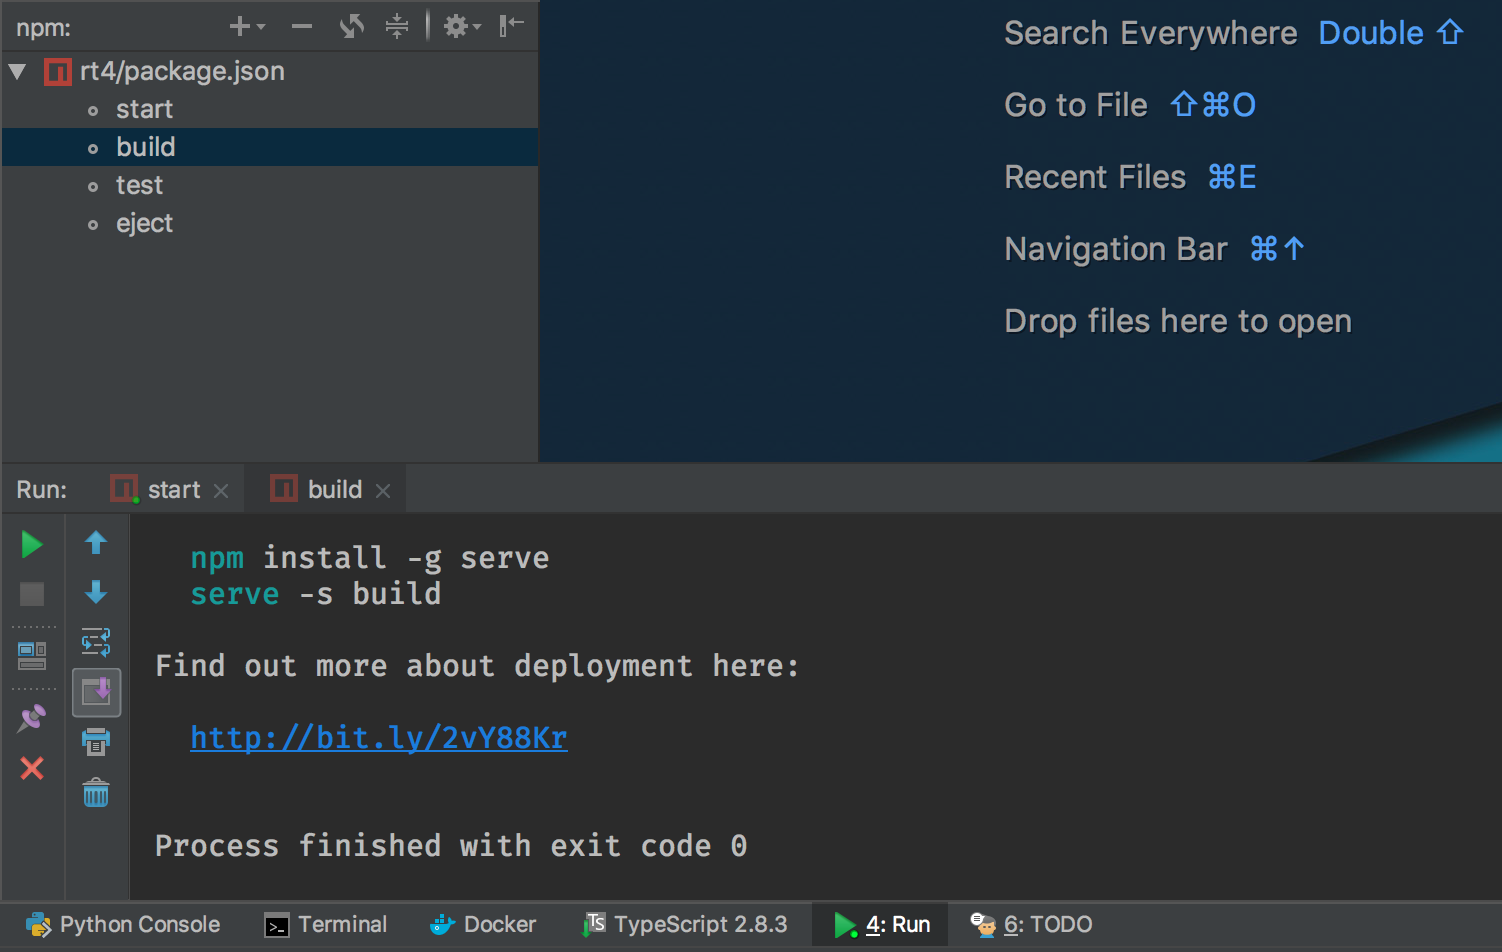
That’s great for development, but for production, we need files on disk, shrunk as small as possible. There’s a lot of complexity behind this, but create-react-app has hidden it behind an npm script:
$ npm run-script build
This generates output into a build directory. The output is
self-contained, including even an index.html file. You can copy it to a
static hosting site as-is.
Running this is easy in the IDE: just click on build in the
npm tool window. As an optimization, right-click on the new build
directory and Mark Directory As | Excluded. This prevents the IDE from
indexing the contents of that directory, which you don’t need during
development:
This Is Only a Test
Projects generated from create-react-app are also wired for testing: dependencies, configuration files, and sample tests. We’ll see more later, but for now, let’s run the tests. Unsurprisingly, it’s similar to the above:
$ npm run-script test
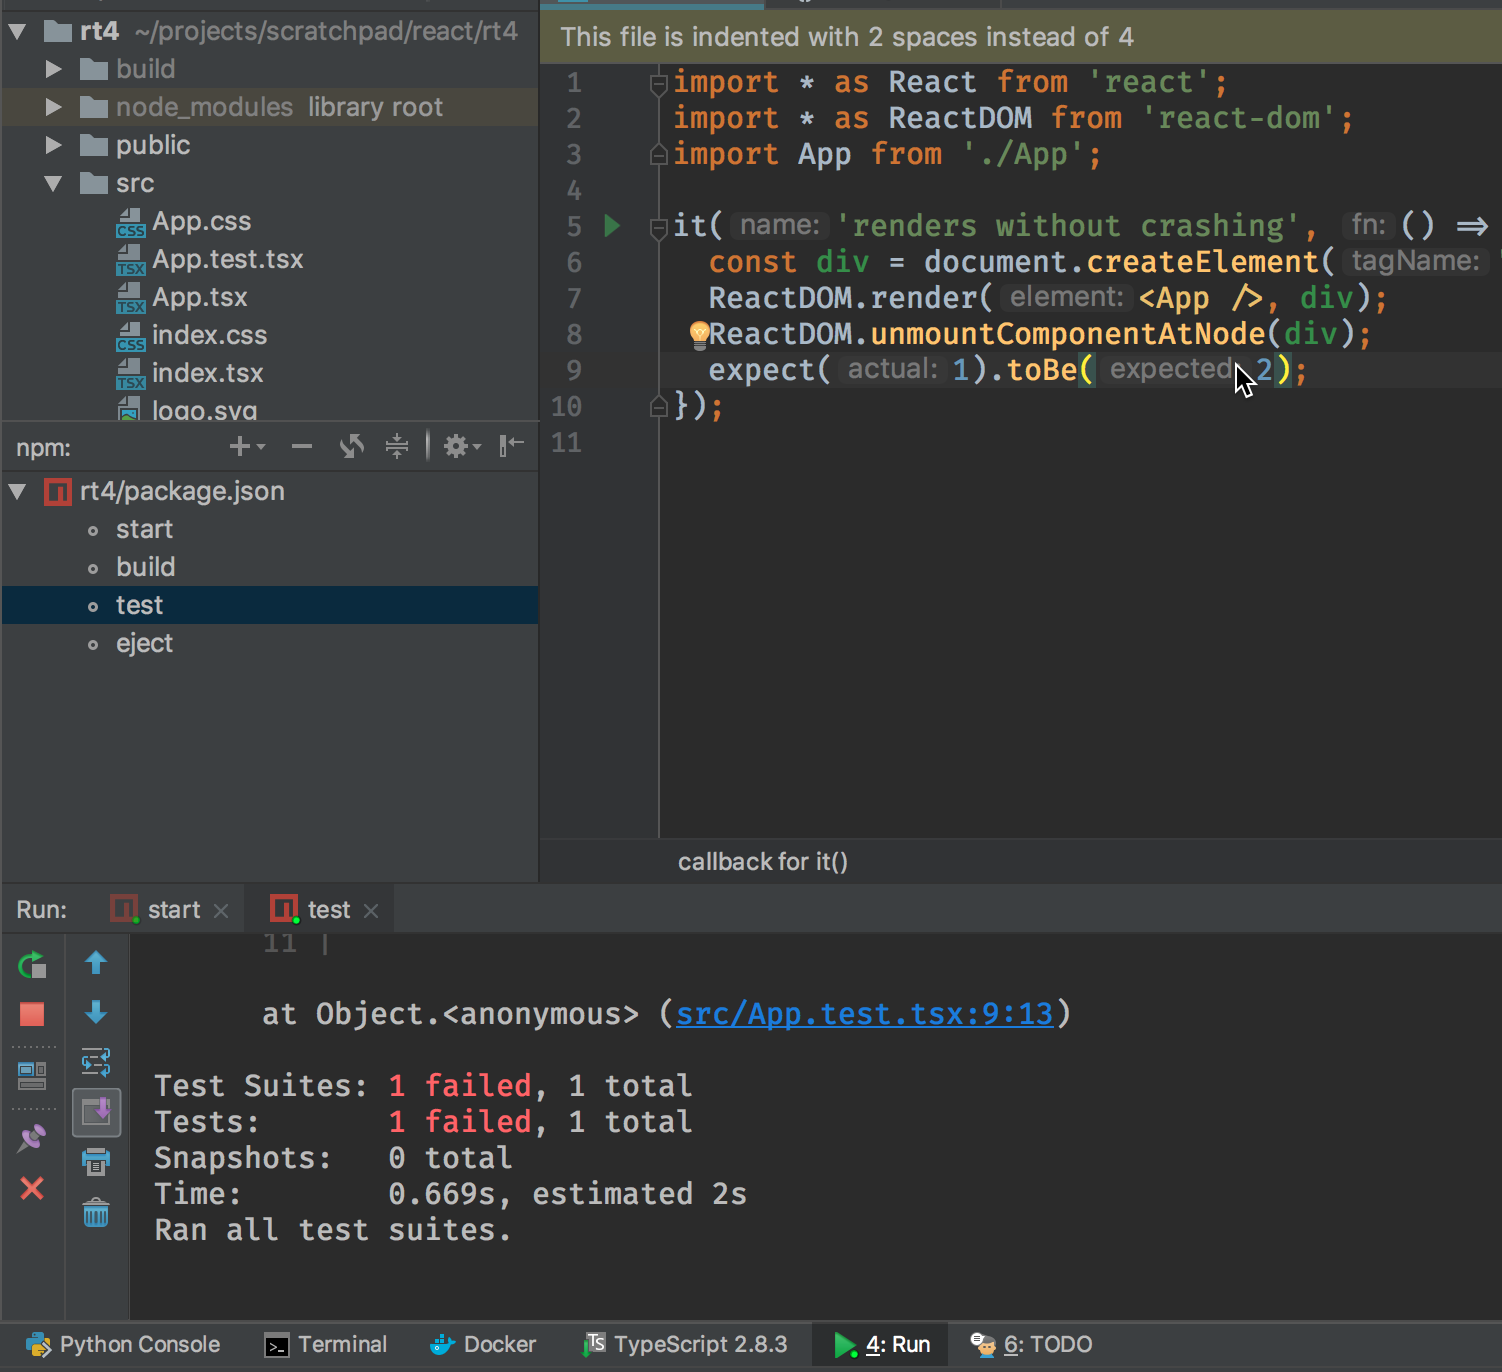
This uses the Jest test runner. The tests auto-run as you edit, updating
much faster once first loaded. To see this in action, open
src/App.test.tsx and add a line to the test:
it('renders without crashing', () => {
  const div = document.createElement('div');
  ReactDOM.render(<App />, div);
  ReactDOM.unmountComponentAtNode(div);
  expect(1).toBe(2);
});
When you save this, the test runner output tells you about the test failure.
Change the 2 to a 1 and save, and the tests pass.
As with the other run scripts, you can double-click to run the npm scripts in an IDE tool window.
But that’s the less-interesting way to do it. We’ll show in Unit Testing with Jest and Enzyme a more visual way.
Conclusion
In this first step we used existing tools to generate a working React+TypeScript project, with all the tooling configured. We also gave a brief tour of driving this in the IDE.
In our next step we’ll clean up some of the generated app, fix some of the tooling, and take a look a little more at how TypeScript helps your productivity.